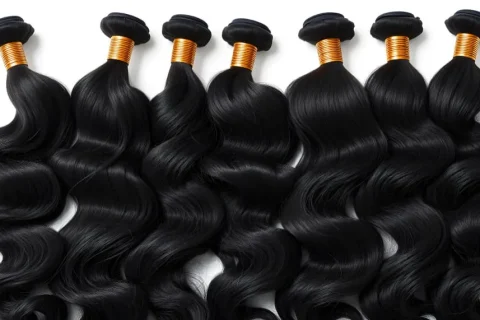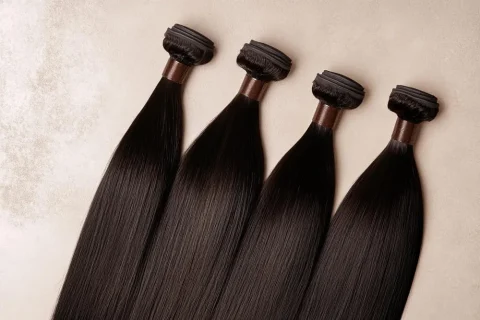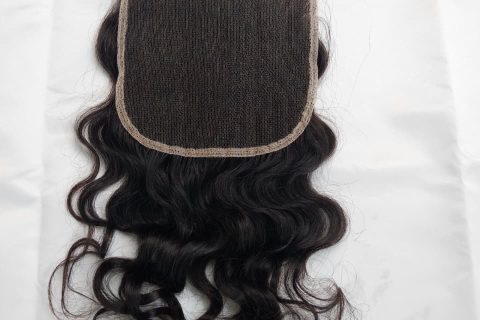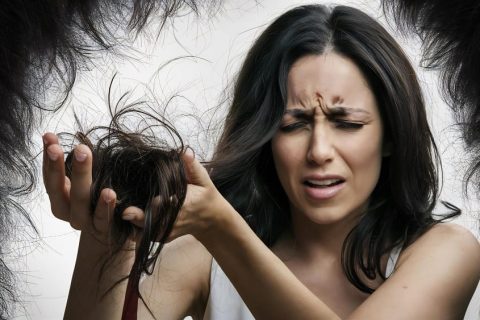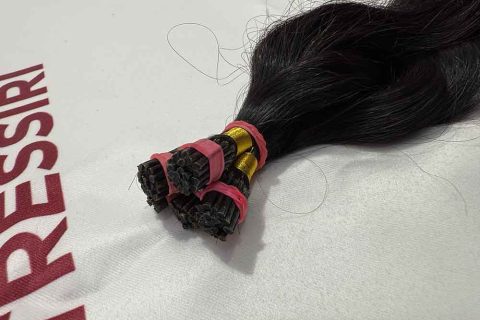
Heat styling hair extensions can give you sleek lengths, soft waves, or a fuller blowout. But when the style does not turn out as expected, turning up the temperature is rarely the best first move. A curl that falls flat might need a smaller section or more cooling time. Hair that catches in a flat iron might need detangling or a wash.
The aim is to get the shape you want with less repeated work on the same strands. This guide explains how to choose a styling method, adjust your technique, and recognize when your extensions need a break.
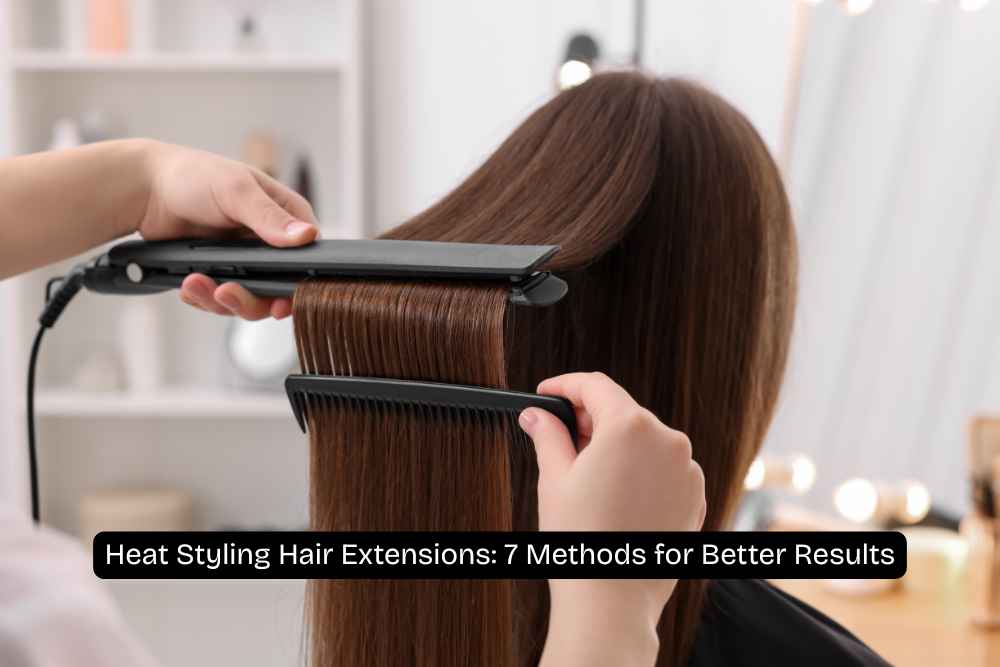
Before you style, check what you are working with
Two questions matter: what is the hair made from, and how is it attached?
Human hair extensions: These can usually be curled and straightened, subject to the product’s care instructions. Raw, virgin, or Remy descriptions do not mean the hair is immune to heat damage.
Synthetic extensions: Do not apply heat unless the manufacturer explicitly identifies the fiber as heat friendly and provides instructions. Human hair temperature guidance does not apply to synthetic fibers. Manufacturers may also specify whether a synthetic piece must be removed before styling.
Colored, lightened, or textured hair: Consider previous processing and the current condition of the hair. Do not assume that a blonde bundle tolerates the same routine as an uncolored bundle, or that a steam-created curl will return unchanged after straightening.
The attachment needs separate attention. Styling the lengths of a clip-in set is different from working around tape adhesive, beads, a sewn weft, or a lace frontal. Your stylist’s aftercare instructions should guide the approach near the roots.
What temperature should you use for heat styling hair extensions?
There is no universal damage-free temperature.
Use an adjustable tool and start at the lowest setting permitted by the extension supplier that can produce your style. Some human hair extension brands advise staying at or below approximately 350°F (177°C), but this is general guidance, not a tested limit for every Tressiri product. Follow the supplier’s lower limit whenever one is specified.
If no guidance is available, ask before styling rather than guessing.
Test a small, discreet section first. Check its feel and appearance after it cools. If the tool drags, the hair feels rougher, or the color changes, stop and reassess.
Heat exposure also depends on time and repetition. A moderate setting does not make repeatedly ironing one section harmless. The American Academy of Dermatology recommends low heat, shorter contact time, and less frequent use of heated styling tools.
Prepare the hair so your tool has less work to do
Before a flat iron or curling iron touches the hair:
- Gently remove tangles, starting at the ends and supporting the hair to avoid pulling on the installation.
- Make sure the lengths are completely dry.
- Apply a heat protectant approved for the hair and installation, following its label. Let any dampness from the product dry before using an iron.
- Check for product buildup. If the hair feels coated, follow its washing instructions instead of adding another layer of spray.
Heat protectant helps reduce risk. It does not make high temperatures, prolonged contact, or frequent restyling damage free.
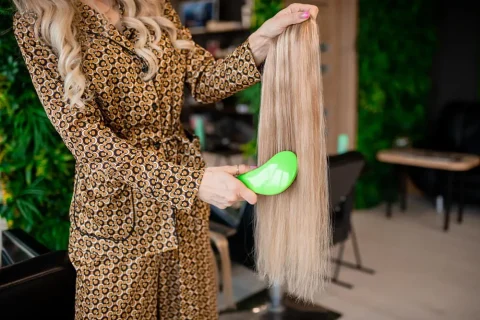
For removable extensions, use a secure extension holder if you style them off your head. Keep hot tools away from the clips and seams, and work on a heat-resistant surface.
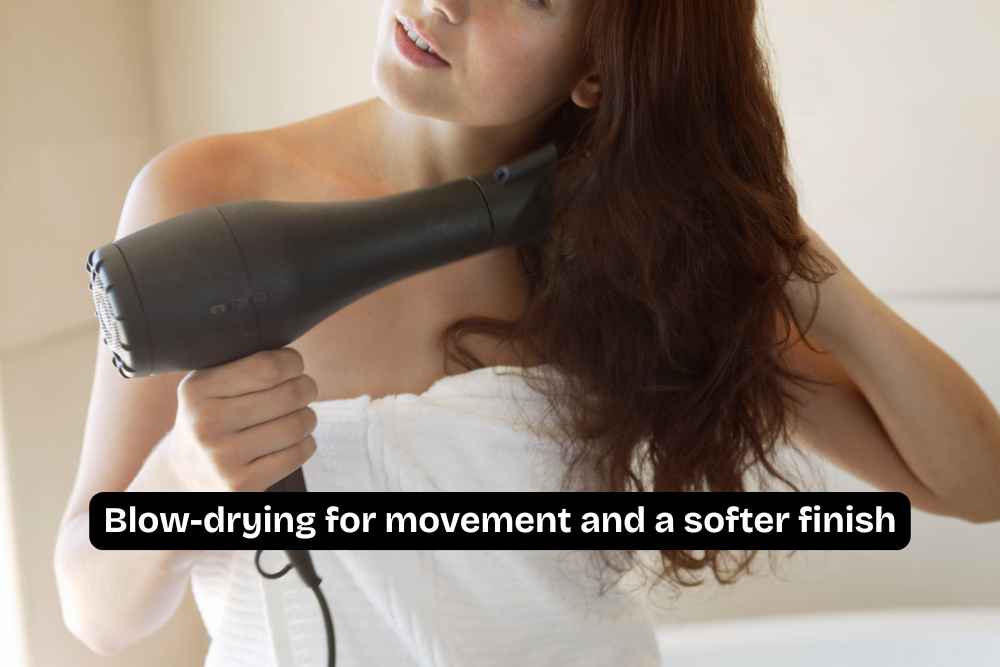
1. Blow-drying for movement and a softer finish
Choose a blow-dry when you want body and movement rather than very flat lengths.
Blot excess water gently, then section the hair so you can reach the inner layers. Use a low heat setting, keep the dryer moving, and direct airflow along the length. Avoid pressing the nozzle against the hair or holding it over one spot.
On an installed set, support the section while brushing so the tension does not transfer to the attachment. Follow your stylist’s drying instructions for the roots and installation.
A useful adjustment: Dry a manageable section before shaping it with the brush. Trying to dry and stretch a thick, wet section at the same time encourages more pulling and repeated heating.
2. Flat ironing for sleek lengths
Choose a flat iron when you want a smooth finish with less volume.
Work on dry, detangled hair in sections thin enough for the plates to contact evenly. Begin below the attachment area, move the tool steadily, and avoid pausing on the ends.
If one section still looks uneven, let it cool and check the cause before repeating.
Try this before raising the temperature: Divide the section in half. If the smaller section straightens more evenly, section size was part of the problem. If the plates continue to catch, stop and check for tangles, residue, or damage.
For a natural finish, keep some movement at the ends rather than pressing them repeatedly until they look rigid.
3. Curling irons and wands for defined curls
Choose a curling iron or wand when you want a clear curl shape.
Work in consistent sections, keep the barrel away from your scalp and attachments, and use the shortest contact time that creates the curl within the product’s instructions. Do not keep holding the hair on the barrel because you want the style to last longer.
Release each curl gently and let it cool before brushing or separating it. For removable human hair extensions, you can style the pieces separately, let them cool, and then install them.
If curls keep falling flat: Try a slightly smaller barrel, smaller sections, or less heavy finishing product. Change one thing at a time so you can tell what improves the result.
Long hair can relax under its own weight. That does not automatically mean it needs more heat.
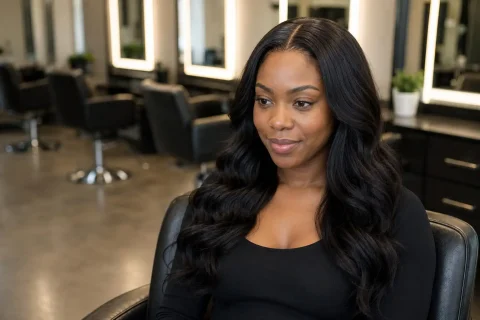
4. Flat-iron waves for a relaxed shape
Choose flat-iron waves when you want a looser bend through the lengths.
Use a light grip, make a gentle turn with the tool, and keep it moving. Practice on a small section first. A tight squeeze or a pause at the turning point can leave a crease.
For a softer look: Start the wave below the attachment and leave a little of the end straighter. Avoid repeatedly recurling the last inch to make every wave identical.
If a section needs several attempts, leave it to cool and adjust your technique on a different section before returning to it.
5. Heatless rollers for a planned-ahead style
Choose rollers or a heatless curling ribbon when you have time to let the hair take shape.
For installed extensions, use gentle tension and avoid positioning rollers where they pull on attachment points. Keep roots and attachments dry, particularly before bed, and follow your stylist’s guidance.
Remove clip-ins before sleeping. They can be set separately and stored appropriately once dry.
Set realistic expectations: Heatless results vary with the hair’s texture, length, and condition. Dry hair may take only a soft bend. If setting removable extensions slightly damp is permitted by their care instructions, allow them to dry completely before releasing the shape or storing them.
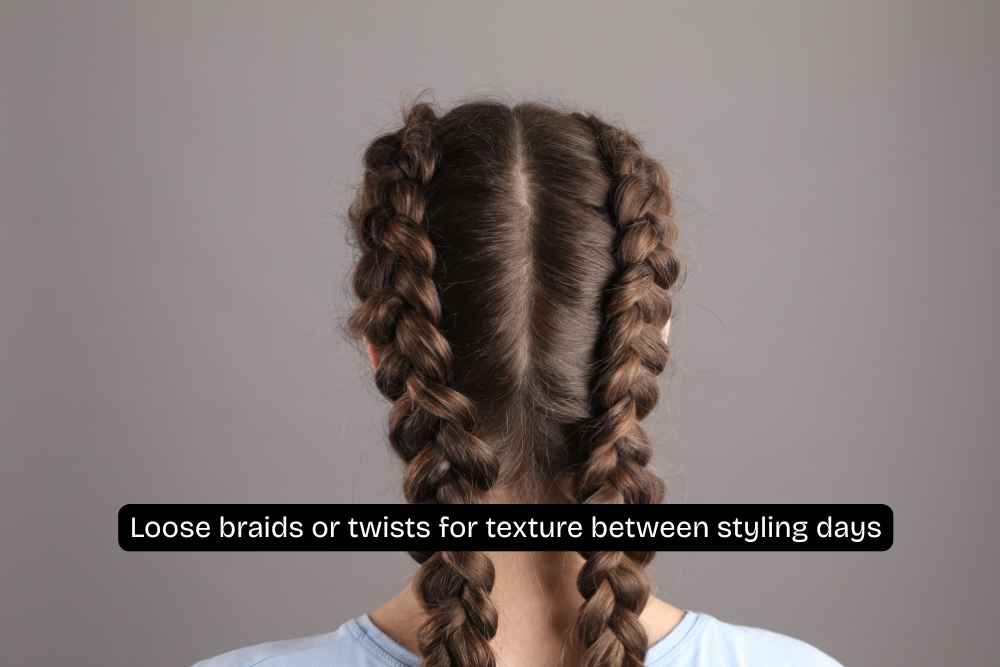
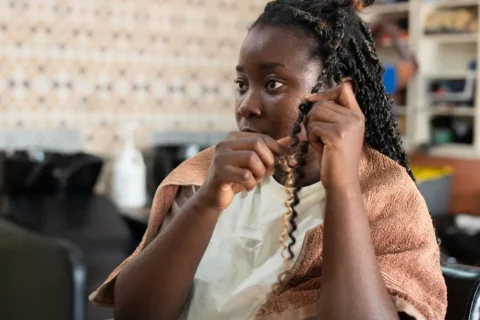
6. Loose braids or twists for texture between styling days
Choose loose braids or twists when you want a simple way to change the appearance without using a hot tool.
A few larger braids can create broader bends; smaller sections may create a more noticeable pattern. Keep tension comfortable and use soft ties.
This method is also useful between heat styling sessions when you want the hair contained without pressing or curling it again.
Watch the roots: A braid that looks loose through the lengths can still pull at the installation. If it causes discomfort or tugging, loosen it or choose another style.
7. Styling with the existing texture
Sometimes the best result comes from choosing hair close to your everyday style.
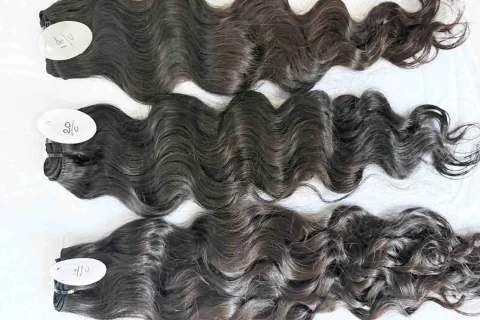
If you wear waves most days, a wavy texture may need fewer changes than straight hair curled each morning. If you want a sleek finish regularly, ask whether a straighter texture would suit your routine better than repeatedly straightening curly extensions.
For curly hair, use the product’s recommended detangling and refreshing method. Avoid assuming that dry brushing, straightening, or a heavy cream suits every curl pattern.
Before buying: Ask how the texture behaves after washing and what care it needs. A photo shows the appearance at one moment; those answers help you judge the daily work involved.
Troubleshooting: change the method before adding heat
| What you notice | What to check first |
|---|---|
| Curls fall quickly | Barrel size, section size, cooling time, and heavy product |
| Straightening takes repeated passes | Sections that are too thick, tangles, or buildup |
| Waves have sharp creases | Pausing the tool, squeezing too tightly, or an abrupt turn |
| Ends look dry after styling | Styling frequency, previous processing, and existing wear |
| Leave-out does not blend | Texture match and shaping, rather than repeatedly pressing your natural hair |
| Roots feel tight or uncomfortable | Brush tension, style tension, and the installation |
Burning smells, visible smoke, sizzling, or a sudden change in texture are reasons to stop. Let the hair and tool cool before investigating. Do not keep testing the same section.
Conditioning may improve softness and manageability, but it cannot guarantee reversal of heat damage.
Frequently asked questions
Can you straighten raw or virgin hair extensions?
Usually, if they are human hair and the supplier permits heat styling. The label does not guarantee that the hair will tolerate every temperature or recover its original texture afterward.
Will curly extensions return to their original curls after washing?
They may, but it is not guaranteed. The result depends on the hair, how its texture was created, and the heat exposure. If preserving the original curl pattern matters, ask the supplier before straightening.
Can you use a hot comb on a closure or frontal?
Only if the hair and product instructions permit it. Keep the heated surface away from skin, lace, adhesive, and attachment areas. Ask a stylist for help if you cannot control the tool safely near the hairline.
Can you heat style extensions every day?
Daily restyling increases repeated exposure. Where possible, preserve the existing style and use heatless options between sessions. Touch up only the sections that need it rather than reheating the entire set.
Is an expensive styling tool automatically safer?
No. Temperature control and correct use matter more than price alone. A premium tool can still damage hair when held in place or used repeatedly on the same strands.
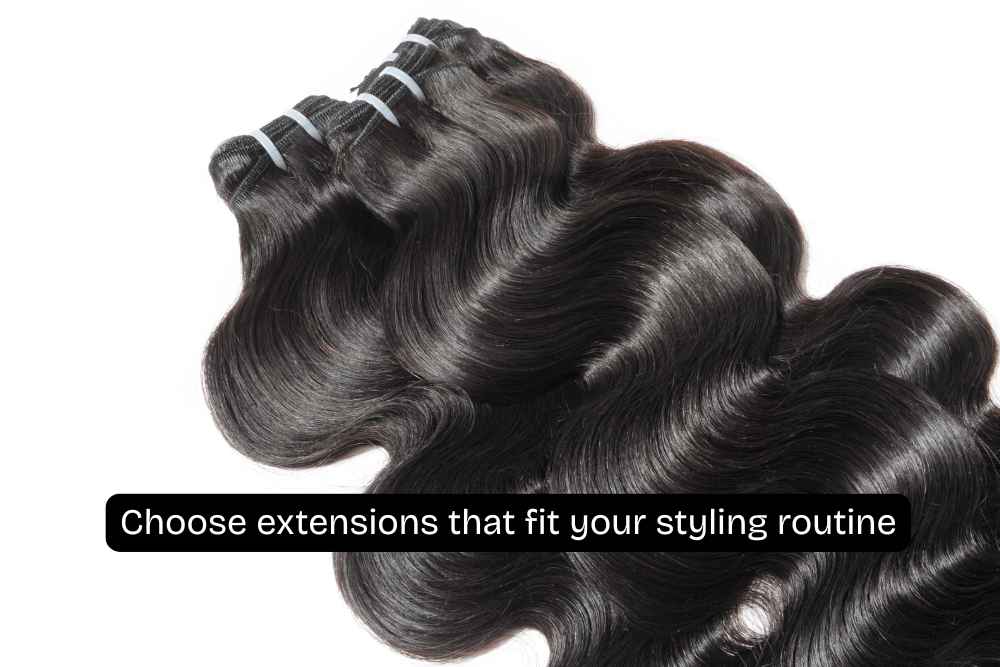
Choose extensions that fit your styling routine
When choosing Tressiri hair extensions, consider the finish you wear most often and the care you are willing to do. Ask about the specific product’s heat styling instructions, texture maintenance, and suitability for your planned installation.
A useful question is: “I usually wear my hair this way. Which texture will need the least restyling?”
That conversation can help you choose hair that works with your routine and reduce unnecessary heat exposure.
Hair styling disclaimer
This article provides general educational guidance and does not replace the care instructions supplied with your extensions, styling products, or tools, or advice from a qualified stylist. Heat tolerance varies with fiber type, processing, condition, and installation method. No temperature or technique described here guarantees damage-free results or preservation of the original texture. Follow product-specific instructions, test a discreet section where appropriate, and keep hot tools away from skin and attachment materials. Stop if you notice burning, unusual odor, texture changes, or discomfort. Seek professional advice for installation problems and medical advice for scalp burns, persistent irritation, or hair loss.